Add a free tooltip to the elementor pricing table
Introduction
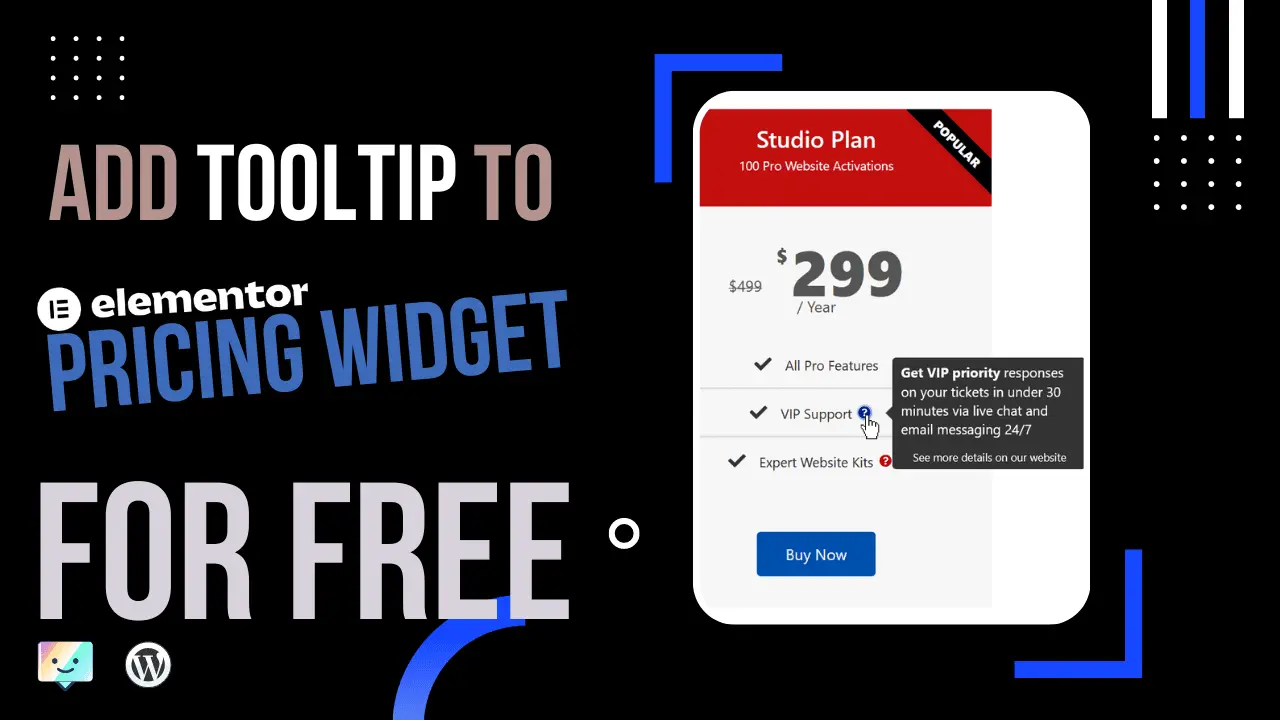
A tooltip is a small, helpful pop-up that appears when you hover over an element or tap on it (on touchscreen devices). It’s a great way to provide additional information without taking users away from the page. In this guide, I’ll walk you through a simple method to add tooltips to your Elementor Pricing Table.
While there are plugins like Dynamic.ooos Dynamic Content for Elementor or Crocoblocks JetTricks that can help you create tooltips, this tutorial uses a custom approach. This method gives you more control and flexibility without relying on additional plugins.
See the demo of the tooltip in action
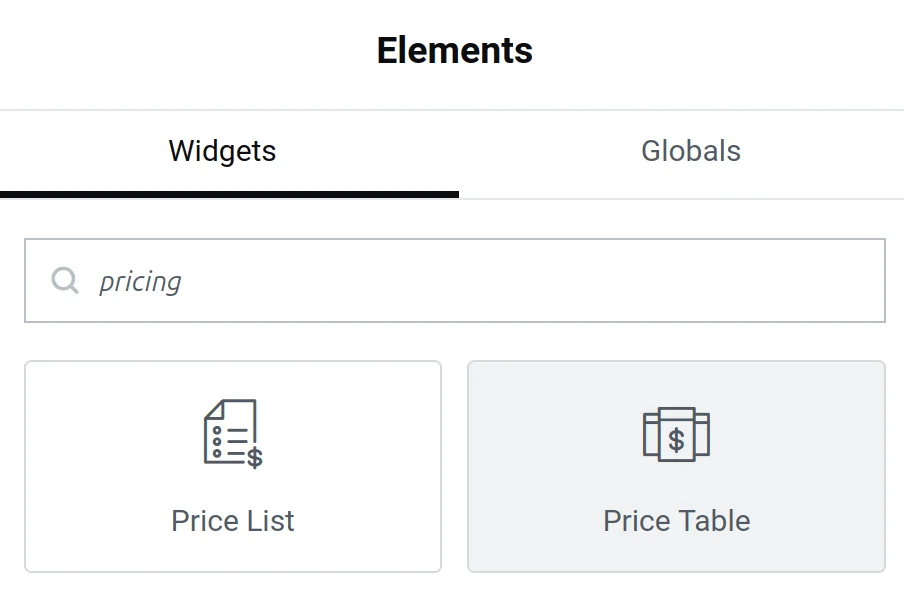
Add the pricing table widget
Open the Elementor Editor, then drag and drop the Pricing Table widget intto a new container.
Add your preferred icon
- Edit the Pricing Table widget and navigate to Content > Features > Text,
- Insert your chosen icon using either SVG or FontAwesome. For example:
<span><i class="fas fa-question-circle"></i></span> Note: Enqueue Font Awesome Library
If the Font Awesome library doesn’t load automatically, you can:
- install the Font Awesome plugin from the WordPress repository.
- load the Font Awesome script manually
Enqueue the TippyJS scripts
To make the tooltip functional, you’ll need to add the TippyJS and PopperJS scripts to the footer of your page. You can find these scripts in the TippyJS documentation.
Add the following scripts to the footer of your page:
<script src="https://unpkg.com/@popperjs/core@2"></script>
<script src="https://unpkg.com/tippy.js@6"></script>
There are several ways to add these scripts in Elementor:
- Elementor Pro users: Go to Elementor > Custom Code and add the scripts there.
- Recommended method: Use a code snippet plugin like Code Snippets or WPCodeBox. to keep all your code organised.
- Alternatively, you can paste the scripts into an Elementor HTML widget on your page.
Call the Tippy function
Finally, activate your tooltips by calling the Tippy function. Here’s an example:
<script>
document.addEventListener("DOMContentLoaded", function () {

    tippy('.dd-expert-kit', {
        content: 'Create advanced websites with our widest selection of ready-to-use website designs',
        placement: 'right',
    });

    tippy('.class-name-2', {
        content: '<strong>Get Premium Support</strong> from a highly trained team who are ready to answer any question 24/7 via email or live chat<div class="dd-subtext">See more details on our website</div>',
        placement: 'right',
        allowHTML: true,
    });
})
</script>
In this example, add the class name "dd-expert-kit" and "class-name-2" to the tags around your icons in the pricing features list. For instance:
<span class="dd-expert-kit"><i class="fas fa-question-circle"></i></span>Conclusion
That’s it! By following these steps, you can easily add custom tooltips to your Elementor Pricing Table. This method is simple. flexible, and doesn’t require additional plugins.
Comments
No comments yet — be the first.
Leave a comment
Replying to .
Thanks — your comment is in
It's awaiting moderation and will appear after it's approved and the site is rebuilt.